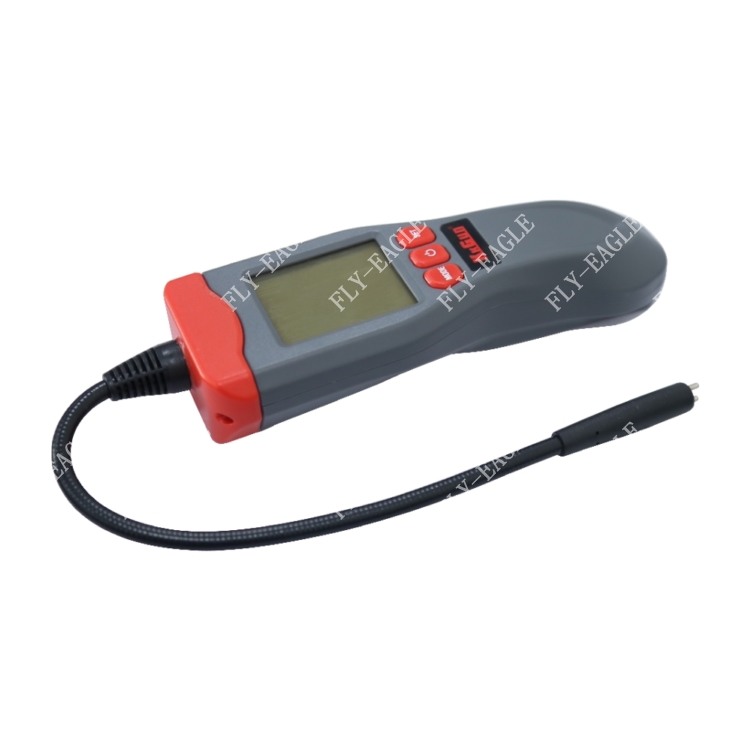
This unit can be used to test the quality of brake fluid
ø It can indicate whether the brake fluid under test can still be used safely or needs
to be replaced.
ø It is a very useful tool for ensuring good braking effect and driving safety.
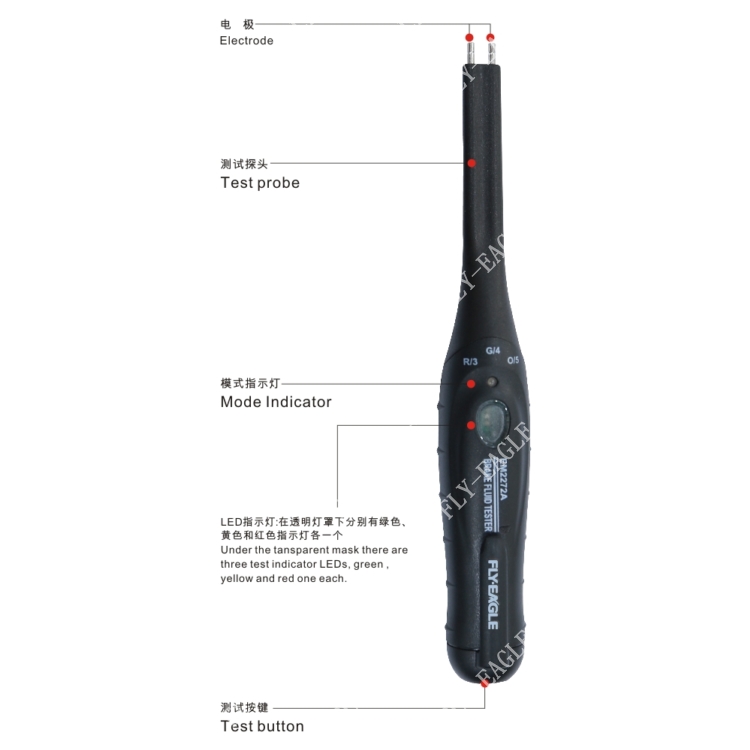
ø Turn the test rod to make it stand up.
ø Clean the test head and make it dry. Note: The test head consists of
the two electric poles and the short cylinder connecting with the two
electric poles.
ø Insert the test head into the new brake fluid about 2cm deep or exports
the test head in dy air directly. Note: if you choose to use the new brake
fluid for unit adjustment, this brake fluid must be the same type as the
brake fluid you want to test later.
ø Press and hold down the "ON" button, wait about 3 second then use a
suitable screwdriver to adjust the adjustor. When the first green LED
just lights and the other LEDs are off, stop adjusting the adjustor. Now,
the unit is ready to test.
Note: Don't release the " ON" button until the adjustment is finished.
Usage method
ø Clean the test head (include two poles) and make it dry.
ø Insert the test head into the brake fluid to be tested about 2cm
deep.
ø Press and hold down the "On" button, wait about 3 seconds,
then read the LED indication:
a. if the two green LEDs light, the quality of the brake fluid is
good.
b. if the yellow LED light, the quality of the brake fluid is bad.
c. if the red LED lights and the built-in buzzer sounds, the
quality of the brake fluid is unsafe to use.
ø After the test is completed, please clean and dry the test head
and the test rod and save the tester properly.
Note:
1. If LED ( or LEDs) flashes or the buzzer sounds when you
press and hold down the "ON" button with nothing being test,
the battery is exhausted and should be replaced (9V, 6F22).
2. Each time before test, make adjustment to the unit.
3. Do not use the unit if it's damaged or has malfunction.